Create an Output
Outputs are reusable connectors that let feeds trigger actions outside Atria. A webhook output can call an internal service, automation endpoint, alerting workflow, or integration layer when a feed matches the on-chain event you care about. Webhook is the currently supported output type in the dashboard. Additional connector types are on the roadmap. Create an output before creating a feed if you already know what should happen when a feed matches. You can also create feeds first and attach outputs later.Use the AI Assistant
Give the AI assistant the output name, webhook URL, request method, timeout, and any headers, and it will create the output. Example prompt: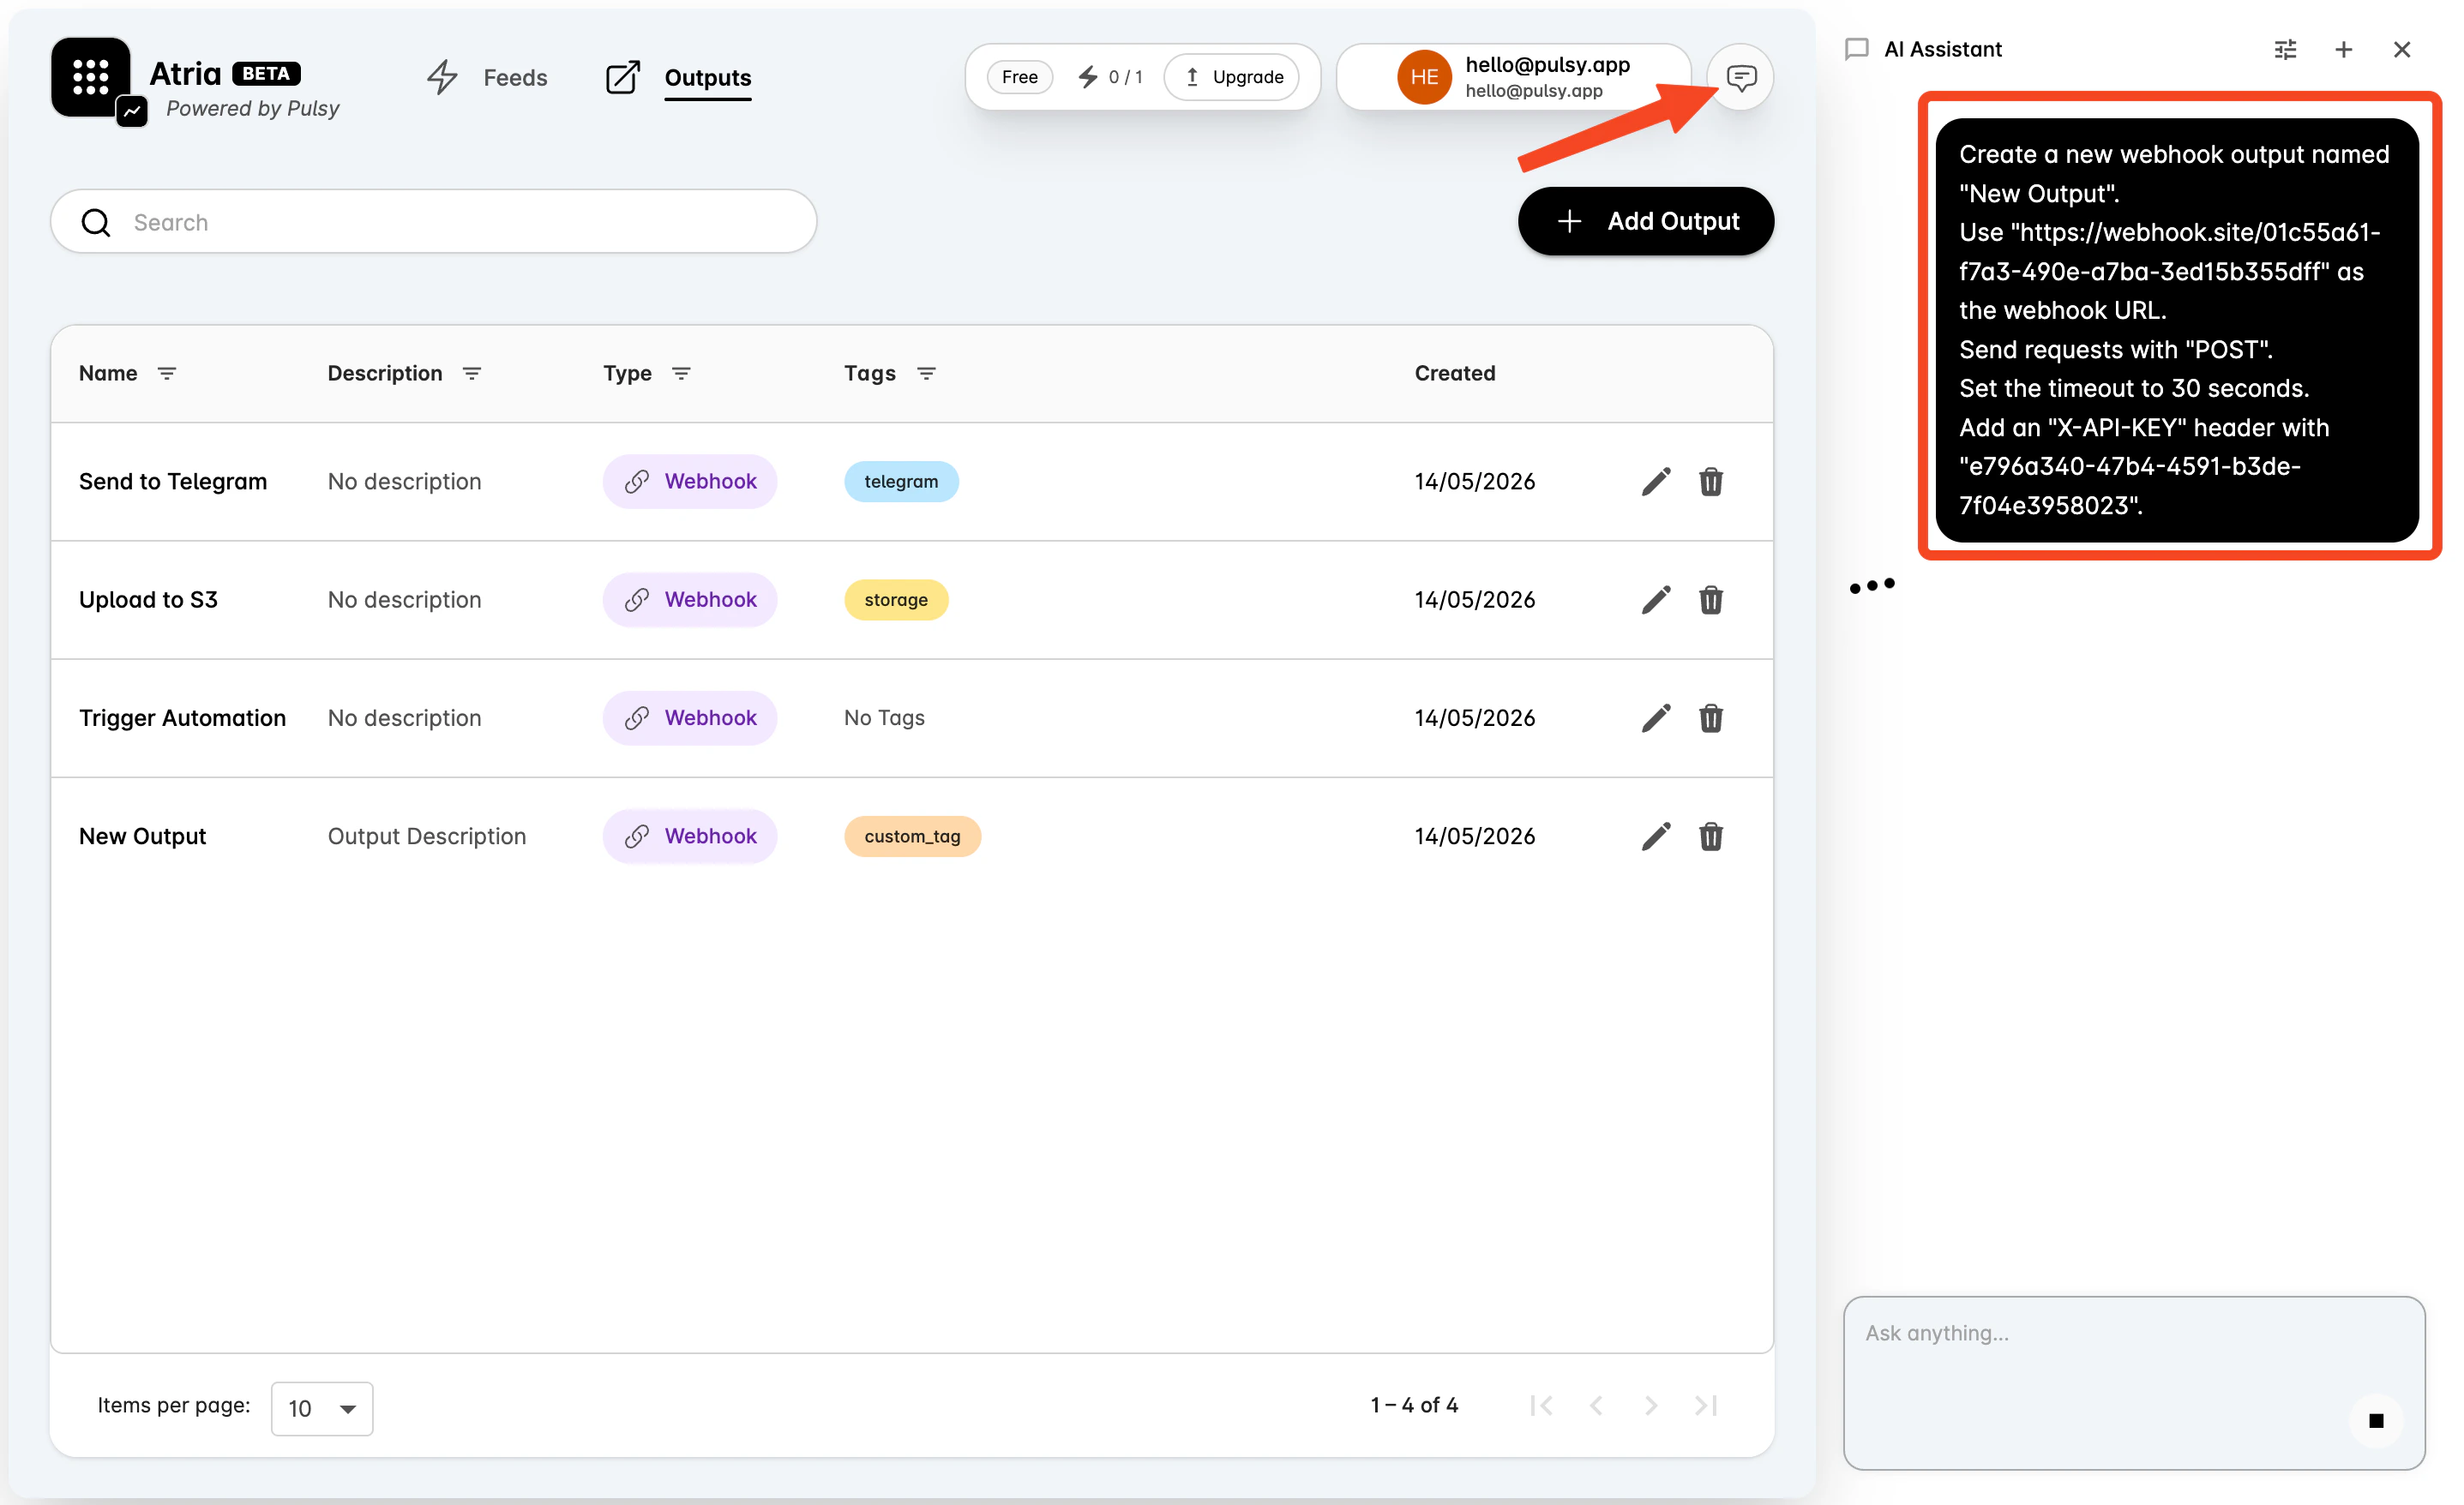
Create an Output Manually
Use the manual flow when you want to configure each field yourself.Open the Output Form
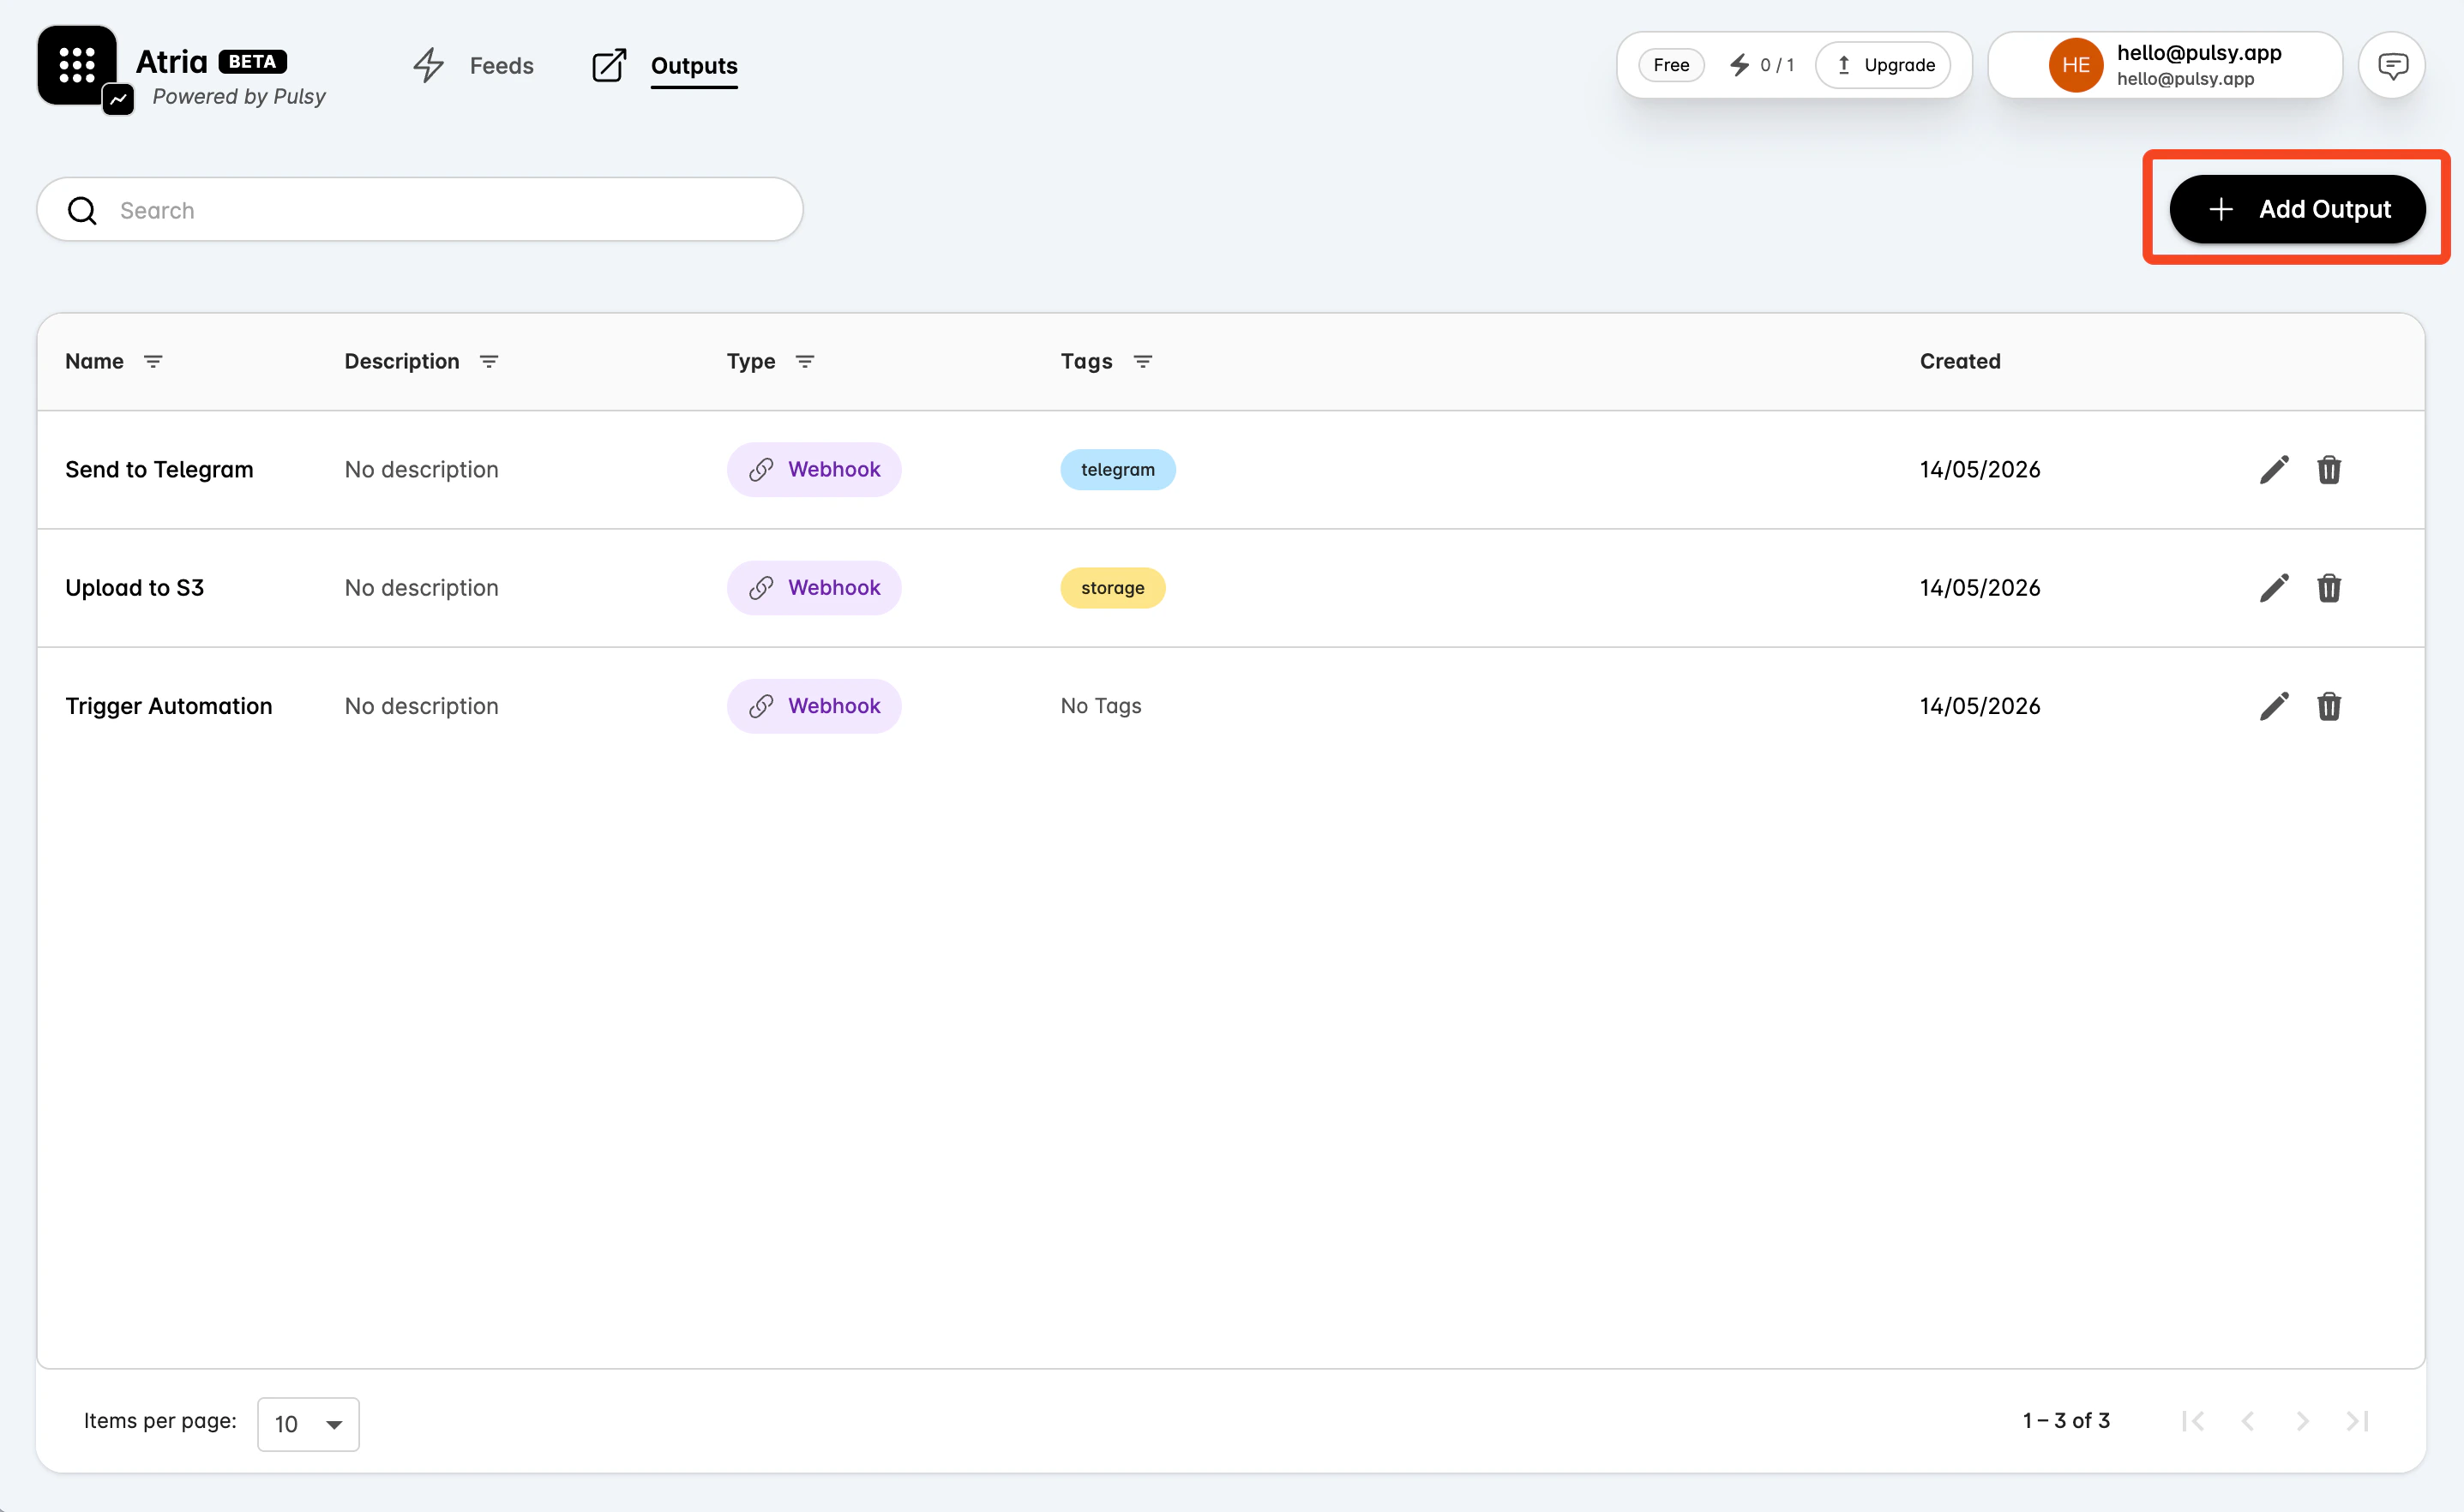
- Go to Outputs.
- Select Add Output.
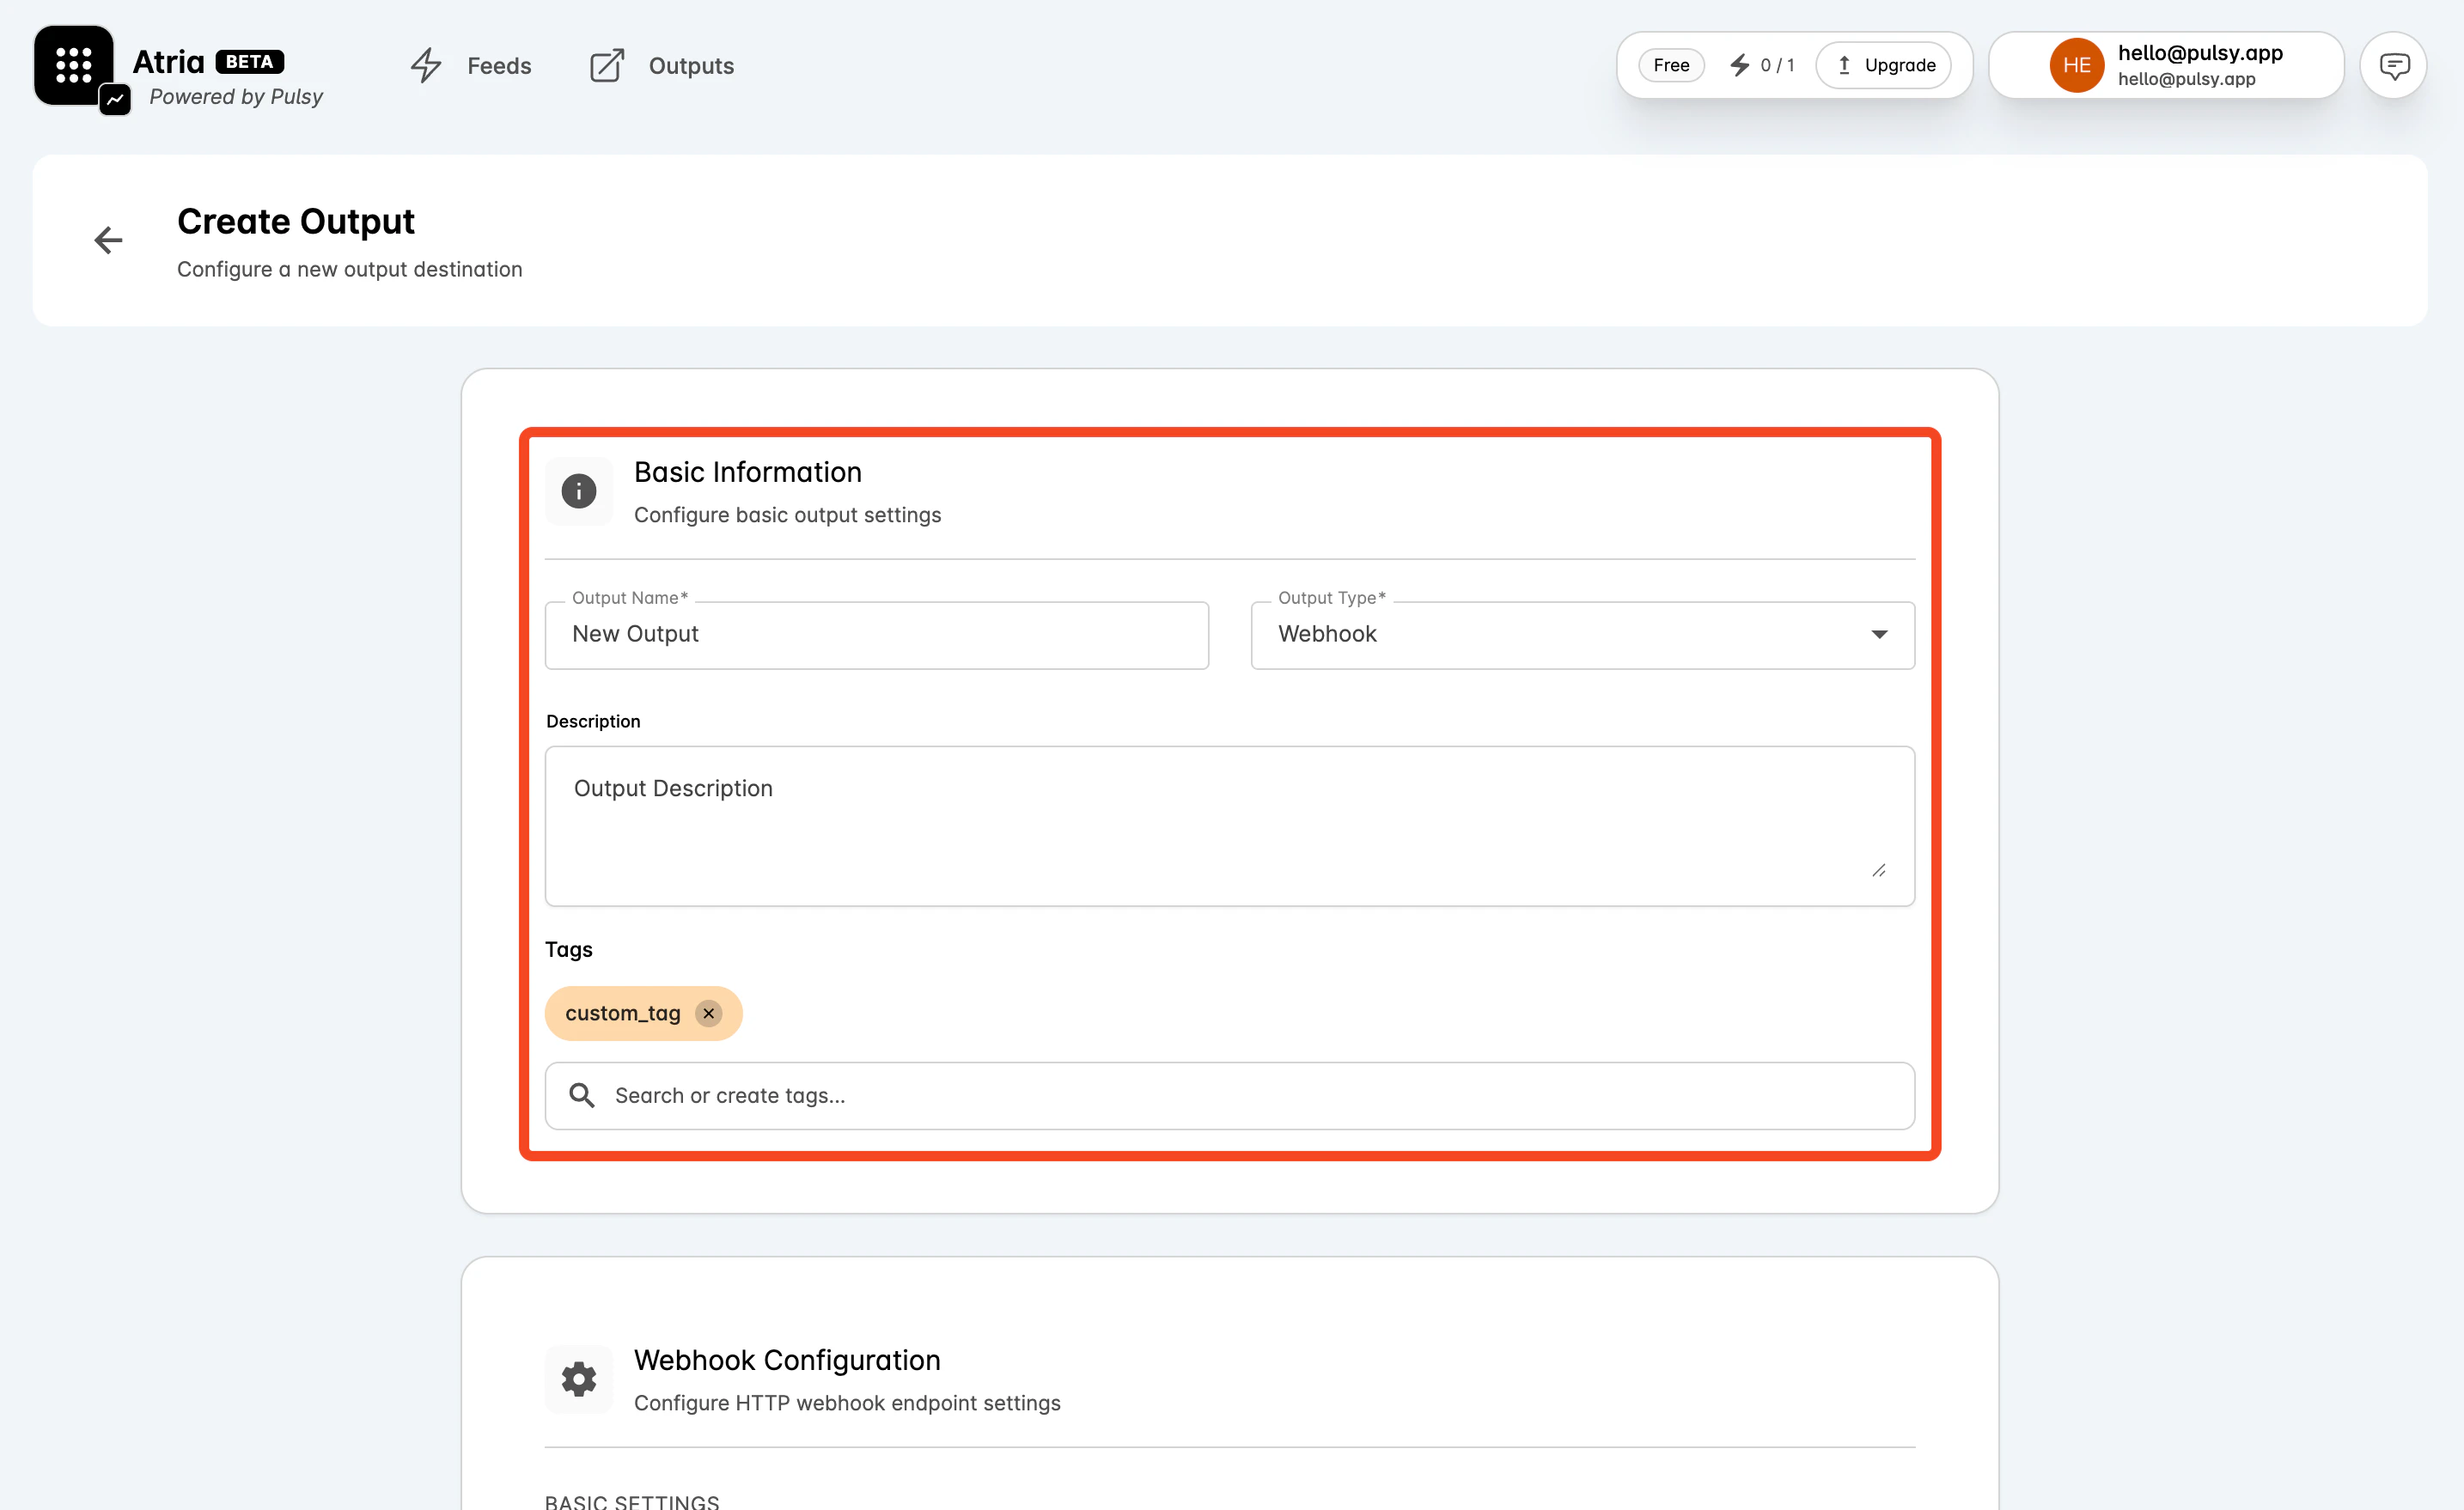
Enter Basic Information
In Basic Information:- Enter an Output Name.
- Set Output Type to Webhook.
- Add an optional Description that explains the action or integration this output represents.
- Add or create tags to organize outputs in the way your team works, for example by project, protocol, environment, workflow, or owner.
Configure the Webhook
In Webhook Configuration:- Enter the Webhook URL.
- Choose the HTTP Method.
- Set the Timeout in seconds.
- Add HTTP headers if your endpoint requires authentication or custom metadata.
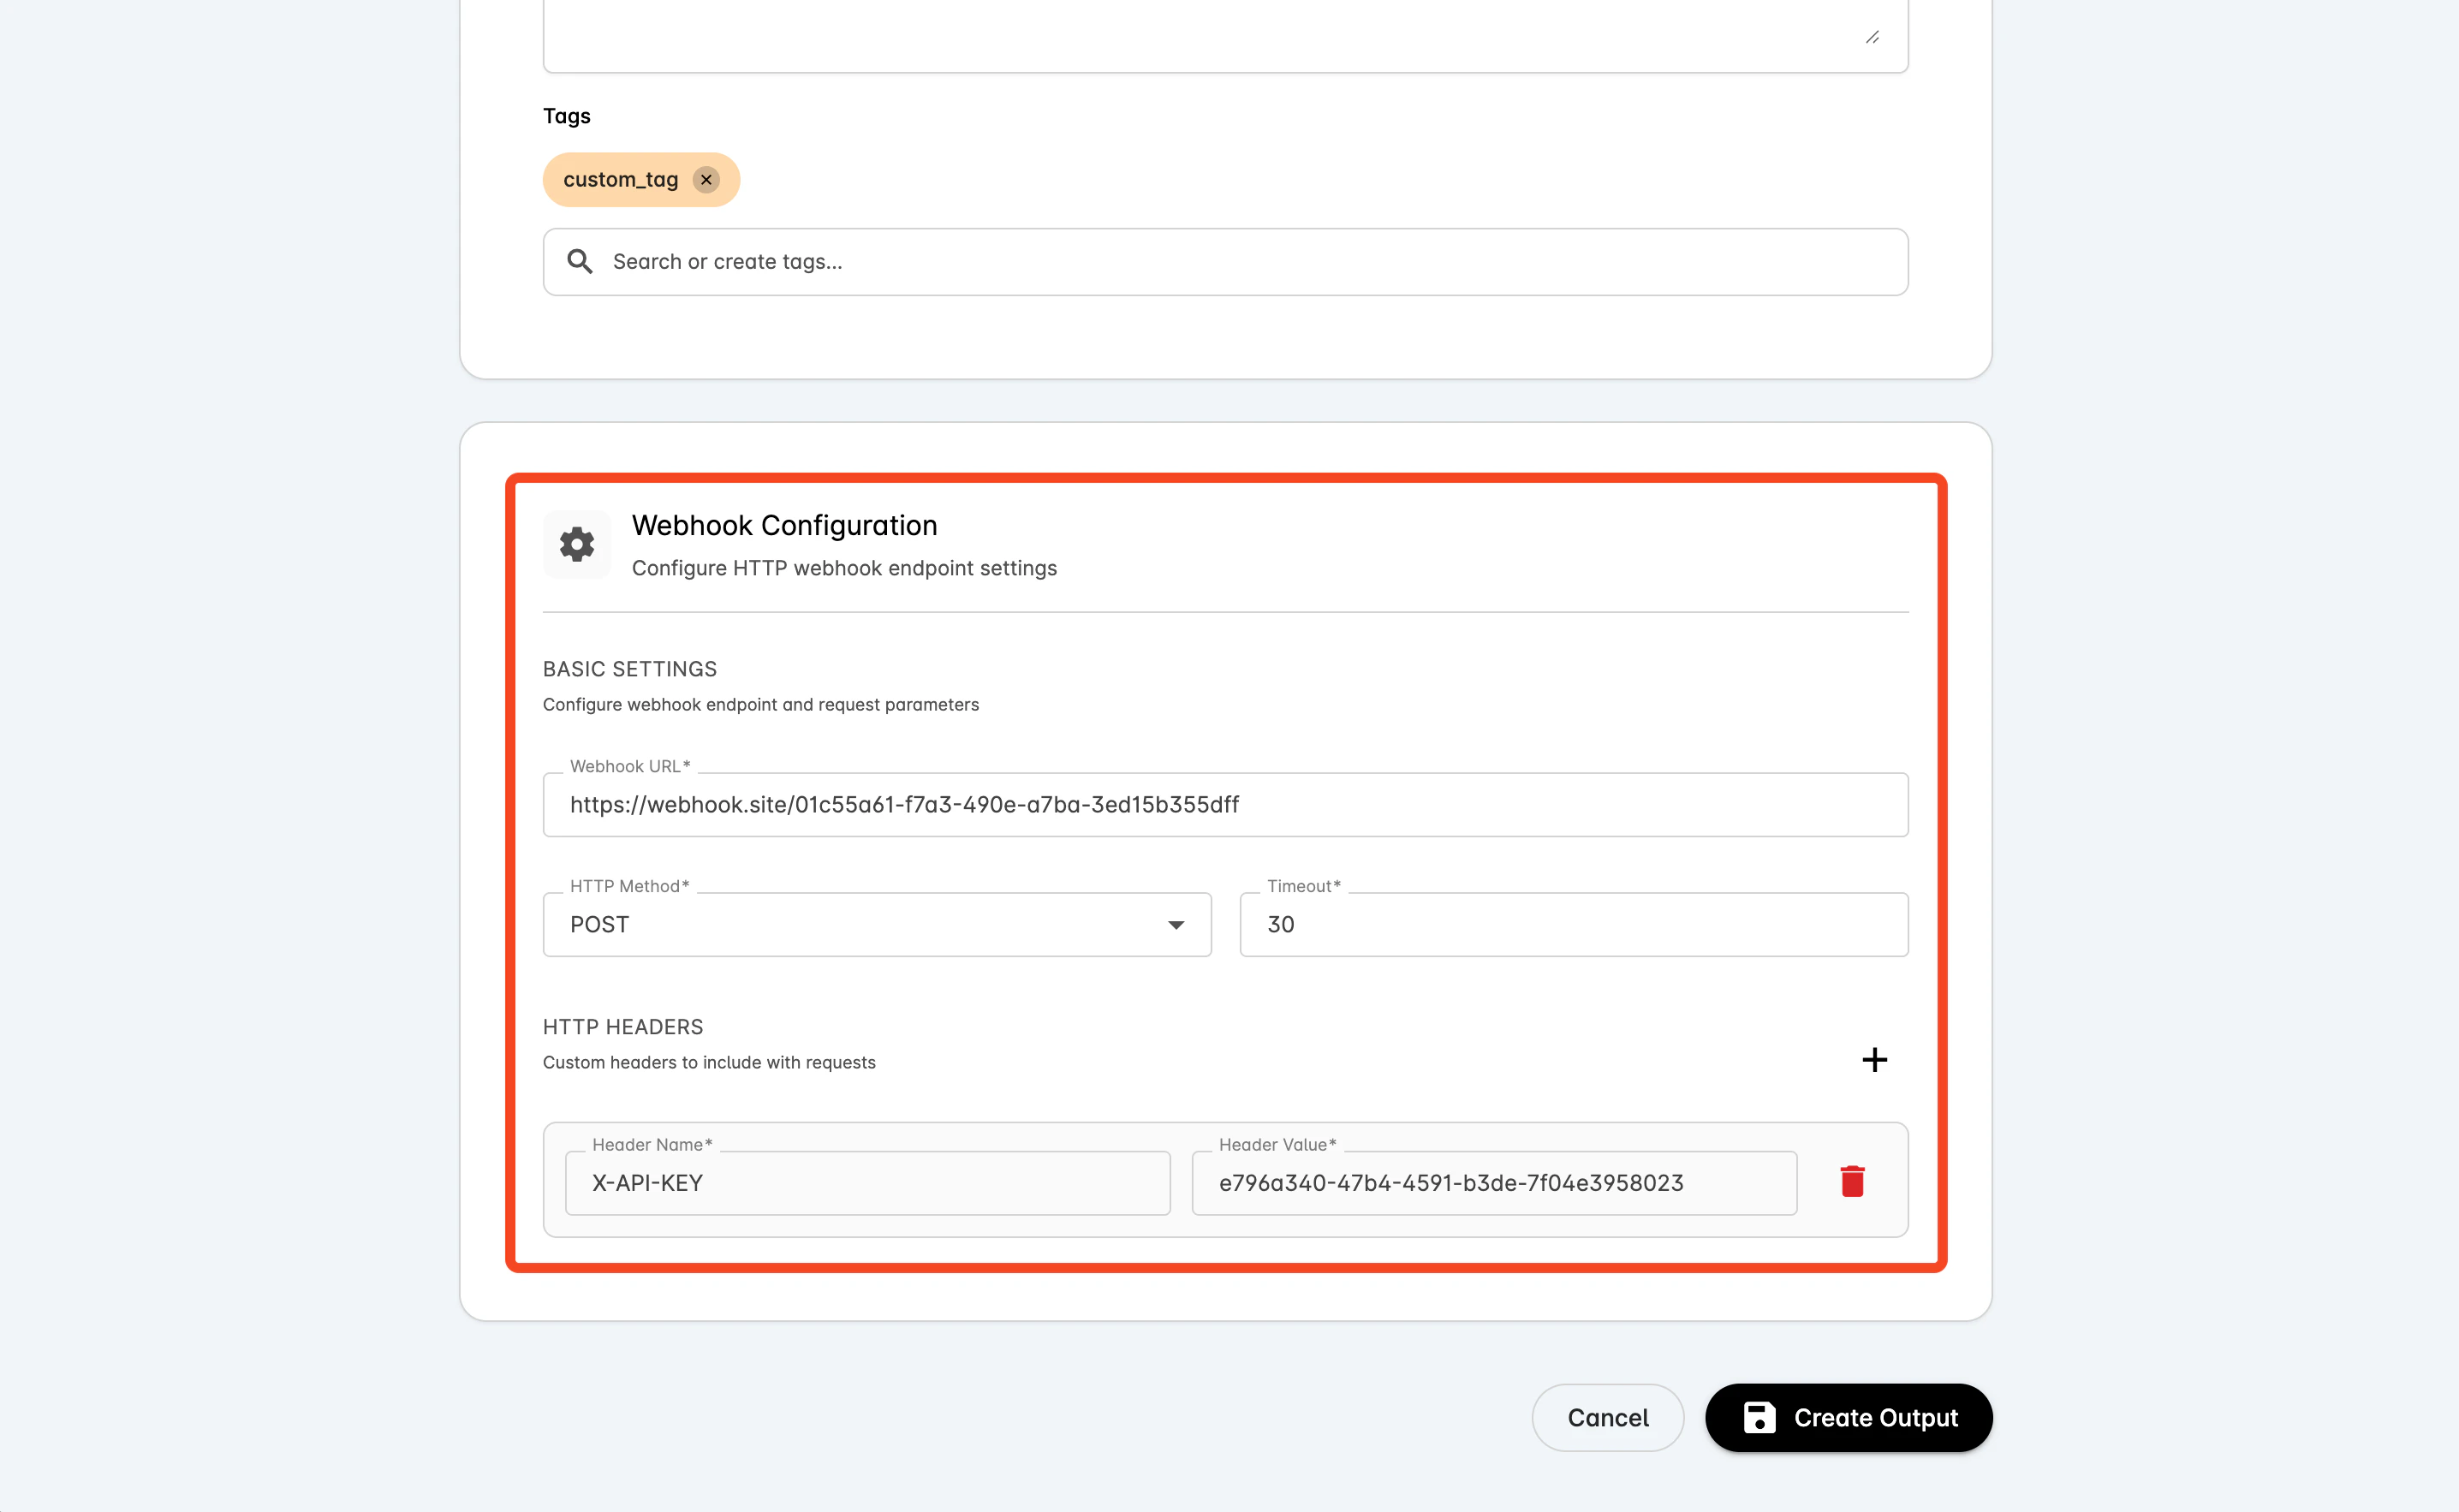
Save the Output
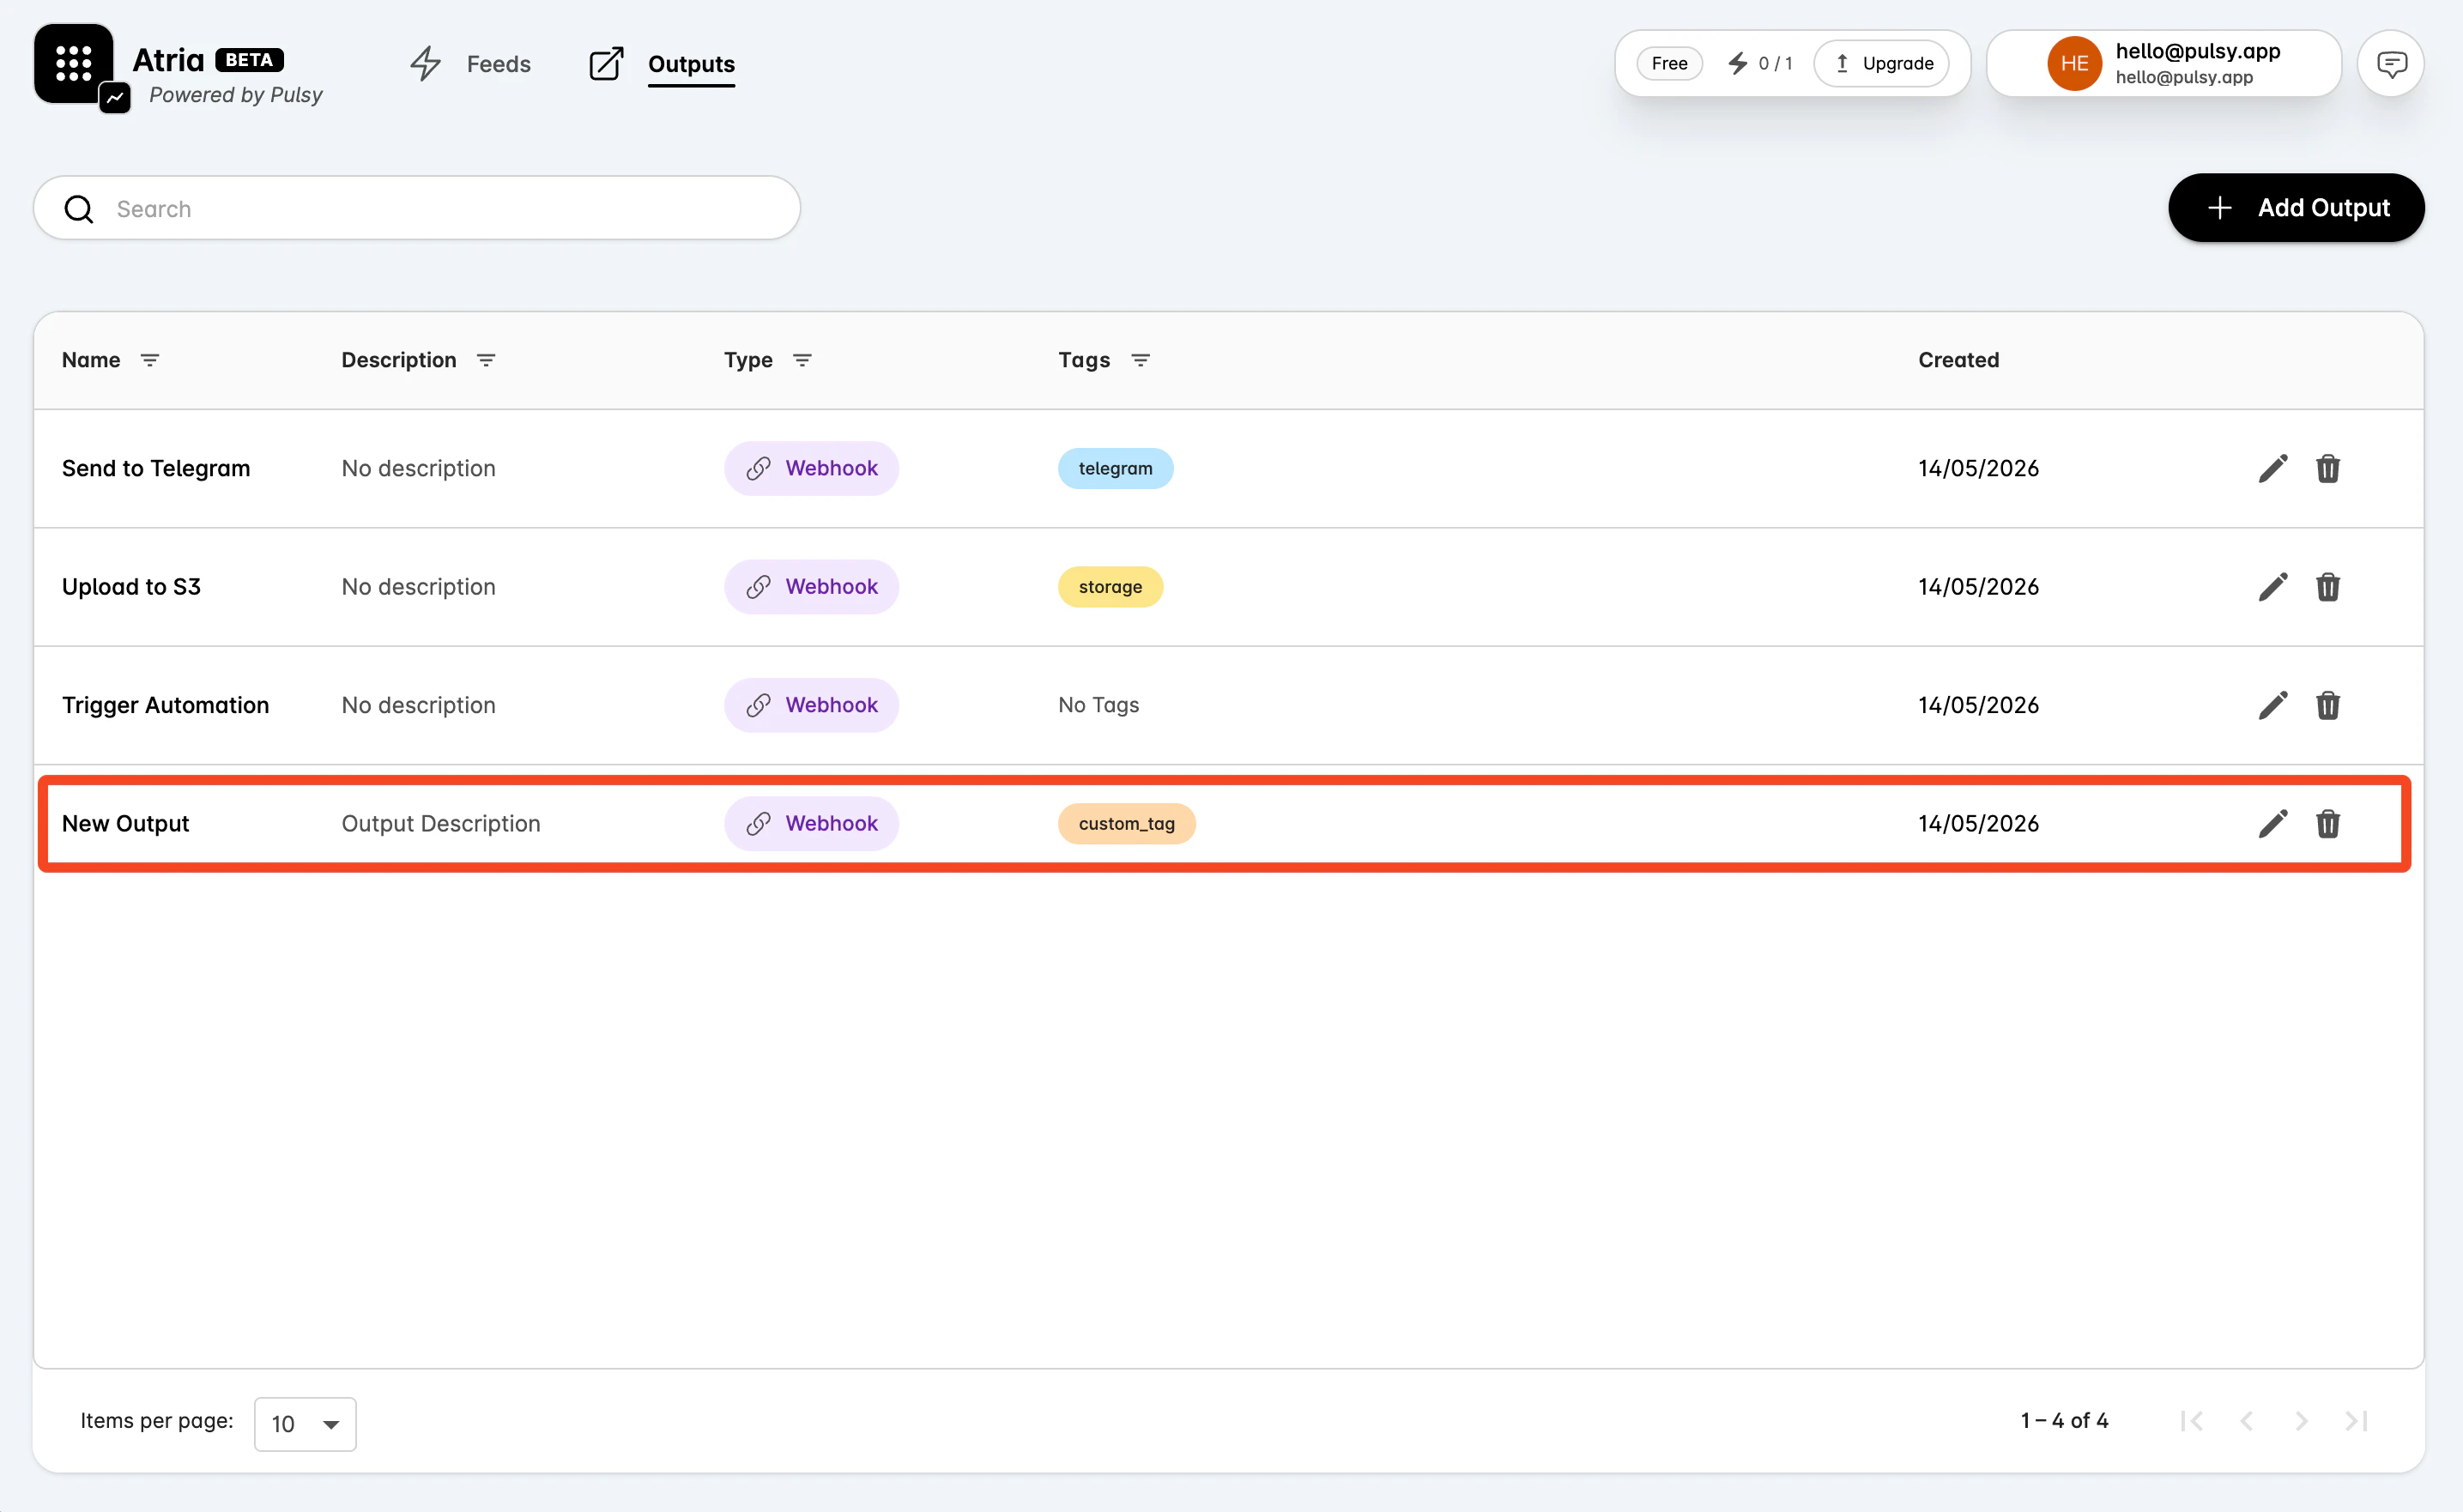
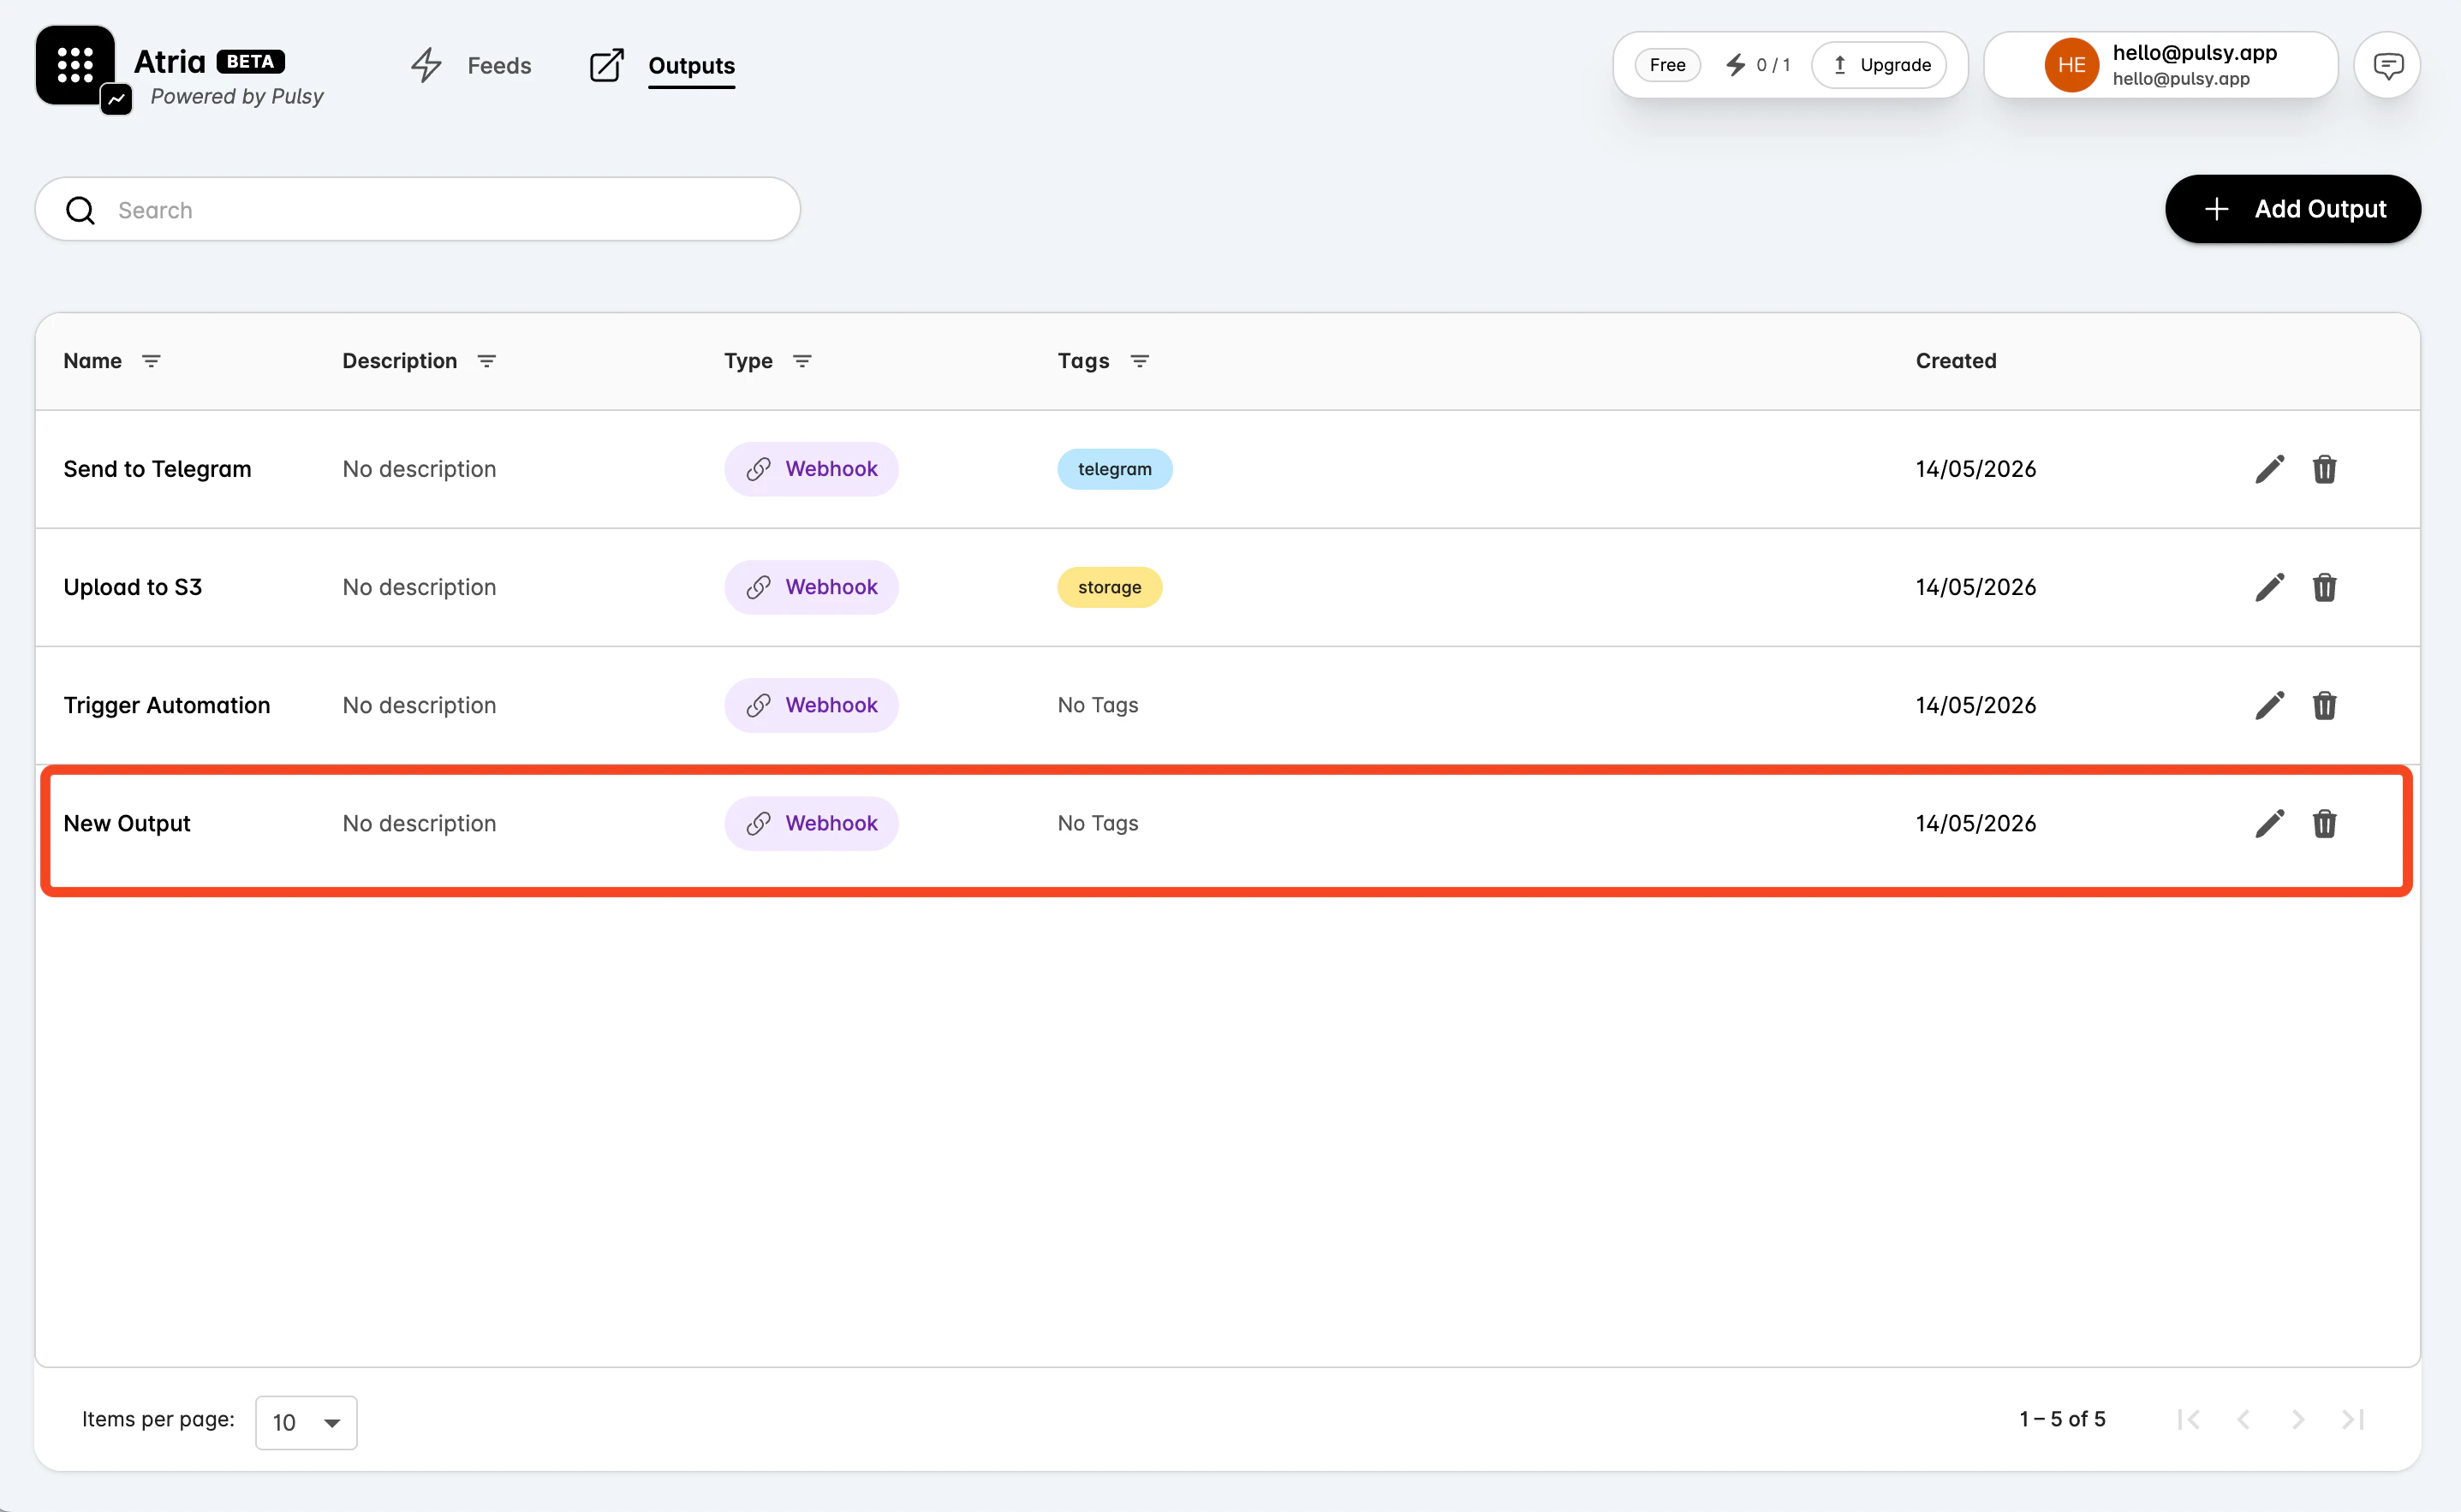
Select Create Output. After the output is created, it appears on the Outputs page and can be selected from the Output tab in a feed workspace. The same output can be reused by multiple feeds. For example, several risk-monitoring feeds can call the same incident workflow, or several protocol feeds can call the same operations service.